What Is Testsealabs Rapid Test and How Does It Work?
Testsealabs Rapid Test refers to a family of rapid diagnostic products designed to detect specific biological markers from a small patient sample. Depending on the model, the test may identify viral antigens, antibodies, or other target substances. Most formats use a nasal swab and a lateral-flow strip. The sample moves across the strip, where labeled particles bind to the target. A visible line then appears.
The mechanism is simple. The interpretation is not.
The U.S. Food and Drug Administration explains that rapid antigen tests generally provide results faster than molecular tests, but they can be less sensitive, especially during early infection. Its repeated-testing guidance recommends additional tests after an initial negative result. The World Health Organization has also emphasized that diagnostic quality depends on test performance, sample collection, timing, and correct interpretation. These factors matter when evaluating any Testsealabs Rapid Test.
Dr. Michael Mina, an epidemiologist and rapid-testing researcher, has described rapid tests as “public health tools,” stressing their value for identifying infectious people quickly. His point is practical. A result available in minutes may support a timely decision, even when laboratory confirmation remains necessary.
Still, speed should not be confused with certainty. A faint line, an expired kit, or an improperly collected sample can change the outcome. Users should follow the product instructions and consult a healthcare professional when symptoms persist or results conflict. Testsealabs Rapid Test can be useful, but no rapid test removes the need for careful judgment.
What Is the Testsealabs Rapid Test?
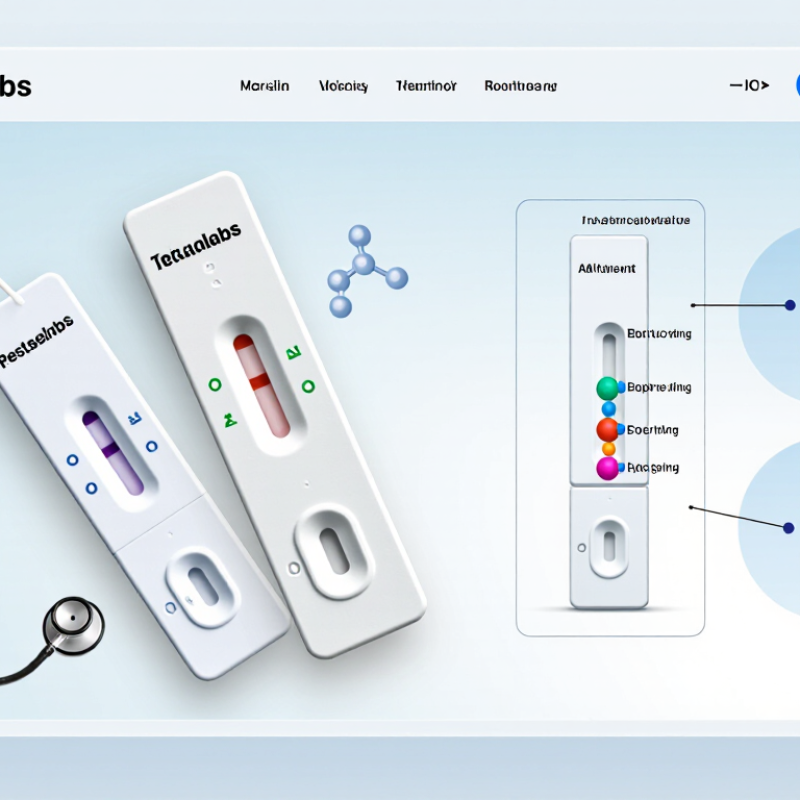
A rapid test is a compact diagnostic screening device designed for quick, preliminary results. It usually detects a target substance linked to an infection or health condition. The target may be an antigen or antibody, depending on the test type. It is not a miniature laboratory. Instead, it uses a prepared strip inside a plastic cassette to produce a visible result.
The process begins with collecting a sample, such as a nasal swab, saliva, blood, or another approved specimen. The exact sample depends on the instructions. After mixing the sample with a liquid solution, the user adds several drops to the test opening. The liquid moves across the strip through capillary action. If the target substance is present, it may bind with labeled particles and create a colored test line. A control line should also appear. Timing matters. Reading the device too early or too late can cause confusion.
A visible control line usually shows that the test functioned properly, but it does not prove the result is accurate. A negative result can miss an infection, especially during early stages or after poor sample collection. An unclear result should not be guessed. Repeat testing or professional advice may be appropriate. In my view, the hardest part is often following each small instruction precisely. Storage temperature, hand hygiene, and sample depth can all affect performance. Medical decisions should consider symptoms, exposure history, and clinical testing when needed.
What Does the Testsealabs Rapid Test Detect?
A rapid test detects specific proteins from a respiratory virus, usually in a nasal sample. It does not detect antibodies or confirm past infection. The swab collects material from the nose, and the test solution moves across a small internal strip. If enough viral antigen is present, a visible test line appears, often within 15 to 30 minutes.
Timing matters greatly. A 2022 Cochrane review found that rapid antigen tests identified about 81% of symptomatic infections during the first week of symptoms. Their specificity reached roughly 99%, meaning false positives were uncommon. Performance was weaker in people without symptoms, with sensitivity near 55%. The amount of virus may be too low for detection.
A negative result can feel reassuring. It is not proof of no infection. In practice, testing soon after exposure may miss an early infection. Repeating the test after 24 to 48 hours can improve detection, especially when symptoms continue. Follow the exact swabbing time and sample depth in the instructions. Poor sampling can change the result. A positive finding should be treated seriously and checked against current public-health guidance. A laboratory molecular test may be appropriate when symptoms, exposure history, or clinical risk do not match the rapid result.
How Does the Testsealabs Rapid Test Work?
A rapid test uses a small sample to look for a specific biological signal. Depending on the test type, that signal may be an antigen or an antibody. The sample is usually collected with a swab, saliva, or a small finger-prick of blood. It is placed into a liquid solution, which helps release target material from the sample.
The liquid moves across a prepared test strip through capillary action. If the target is present, it binds with labeled particles and forms a visible test line. A separate control line should also appear. This line shows that the liquid traveled correctly and the test reacted as designed. No control line means the result is invalid. Timing matters. Reading the strip too early or too late can produce confusion.
A positive result usually requires medical guidance, especially when symptoms are present. A negative result may be less certain during the early stage of an infection. The target may not have reached a detectable level yet. It can also be missed by poor sampling, expired materials, or incorrect storage. A test can fail. Following the instructions closely improves reliability, but it cannot remove every limitation. Repeating the test after the recommended interval may provide clearer evidence. Local health guidance should determine whether confirmation through laboratory testing is needed.
What Is a Rapid Test and How Does It Work?
A rapid lateral-flow test uses a liquid sample that moves across a membrane by capillary action. If the target substance is present, labeled antibodies bind to it and form a visible test line. A separate control line confirms that the sample flowed correctly and that the test functioned as intended.
The timeline below shows a typical rapid-test workflow. Actual timing can vary depending on the test design, sample type, temperature, and the manufacturer’s instructions.
How to Use the Testsealabs Rapid Test
A rapid antigen test detects proteins from a respiratory virus in a nasal sample. It usually uses a swab, extraction tube, and test cassette. After collection, the swab is mixed in liquid. A few drops move across a prepared strip. A control line shows that the test flowed correctly. A second line may indicate a detected antigen.
Read the instructions before opening the sealed pouch. Wash your hands and check the expiry date. Gently insert the swab as directed, without forcing it. Rotate it the required number of times. Poor sampling can create a misleading negative result. Place the tube upright, add the stated drops, and use a timer. Do not read the cassette too early or too late. The U.S. FDA advises people with symptoms to repeat a negative antigen test after 48 hours. People without symptoms may need three tests, each 48 hours apart. WHO guidance also notes that rapid tests perform best when viral levels are higher, often early in illness.
Tips: Keep the cassette flat. Do not reuse materials. A missing control line means the test is invalid. Repeat with a new kit. A positive result should be treated seriously, but it is not a complete medical assessment. A negative result can still be wrong. Consider symptoms, exposure, and professional advice. I sometimes find timing harder than expected, especially when children move suddenly. Slowing down helps.
What Is a Rapid Test and How Does It Work? — How to Use It
| Information Dimension | Evidence-Based Details |
|---|---|
| Test Type | A rapid test is an in-vitro diagnostic test designed to provide a result in a short time, usually at the point of care or at home. The exact test type depends on the product, such as an antigen test or an antibody test. |
| How an Antigen Test Works | An antigen test detects specific proteins from a virus or other target organism in a sample. The sample moves along a test strip, where labeled antibodies bind to the target substance and produce a visible line when it is present. |
| Typical Specimen | Many respiratory antigen tests use a nasal or nasopharyngeal swab. The required specimen varies by test, so the sample type stated in the product instructions must be followed. |
| Materials Commonly Included | A typical self-test may include a test cassette, a sterile collection swab, an extraction tube containing liquid, a tube cap or dropper, and instructions. Components differ among authorized products. |
| Before Testing | Check the expiration date, allow components to reach the temperature specified in the instructions, wash or sanitize your hands, and place the test on a clean, level surface. Do not use damaged or previously opened components. |
| Sample Collection | Collect the specimen exactly as directed. For a nasal swab, this commonly involves gently inserting the swab into the specified part of each nostril and rotating it for the instructed number of seconds. Do not force the swab or continue if severe pain occurs. |
| Sample Preparation | After collection, the swab is usually placed into an extraction solution and rotated or pressed according to the instructions. The treated sample is then applied to the test device using the specified number of drops. |
| Reading Time | Results must be read within the time window stated in the instructions. Reading too early or too late can make the result unreliable; the correct time window is product-specific. |
| Control Line | A visible control line generally indicates that the sample flowed through the device and that the procedure was performed correctly. If the control line is missing, the result is invalid and the test should be repeated with a new device. |
| Positive Result | A visible target or test line, together with a valid control line, generally indicates that the target was detected. Even a faint line may be considered positive when the instructions say so. Follow local health guidance for confirmation, isolation, treatment, or reporting. |
| Negative Result | A negative result means the target was not detected in that sample at that time. It does not always rule out infection, especially when testing occurs early or when the amount of target material is low. |
| Repeat Testing | For some respiratory antigen tests, repeat testing after an initial negative result can improve the chance of detecting an infection. Follow the specific schedule recommended by the product instructions or public-health authority. |
| Factors Affecting Accuracy | Accuracy can be affected by the timing of testing, specimen collection technique, sample quality, storage conditions, expiration, incorrect reading time, and whether the target is present at a detectable level. |
| Antigen Test Versus Molecular Test | Antigen tests generally provide faster results but may be less sensitive than molecular tests, particularly when the amount of target material is low. Molecular tests detect genetic material and are often used when greater analytical sensitivity is needed. |
| Antigen Test Versus Antibody Test | An antigen test looks for components of a current target organism, while an antibody test looks for the body's immune response. Antibody results may not establish whether an infection is currently active. |
| When to Seek Medical Advice | Seek medical advice for severe or worsening symptoms, difficulty breathing, chest pain, confusion, dehydration, or other emergency signs. A healthcare professional can advise whether confirmatory testing or treatment is appropriate. |
| Safe Disposal | Place the used swab, test device, tube, and other materials in accordance with local waste-disposal guidance. Wash or sanitize your hands after handling the test materials. |
Important Instructions, intended use, specimen type, reading time, and interpretation criteria vary by authorized test. Always follow the directions supplied with the specific test and consult a qualified healthcare professional when results conflict with symptoms or clinical advice.
How to Read and Understand Testsealabs Results
Reading a rapid test result requires patience, clean lighting, and the correct timing. Start by checking the control line or symbol. It should appear clearly, showing that the test worked properly. No control signal means the result is invalid, even if another line appears. Repeat the test with a new device and follow the official instructions.
A positive result usually appears as a second line, mark, or digital message. A faint line may still count as positive, depending on the test design. Read the result only within the stated time window. Lines that appear much later can be caused by drying and may mislead you. Do not guess from color strength alone.
A negative result means the target was not detected at that moment. It does not always rule out early infection or a low level of the target. If symptoms continue, repeat testing as directed or contact a qualified healthcare professional.
I have found that rushing the reading creates avoidable mistakes. A tilted device, poor lighting, or too much sample fluid can also affect interpretation. Keep the test flat and use a timer. Discard damaged, expired, or poorly stored devices. When the result conflicts with symptoms or exposure history, professional confirmation is the safer choice.
Article Source:
Ready to talk about water treatment?
Contact us
Please complete this form and we will be in touch